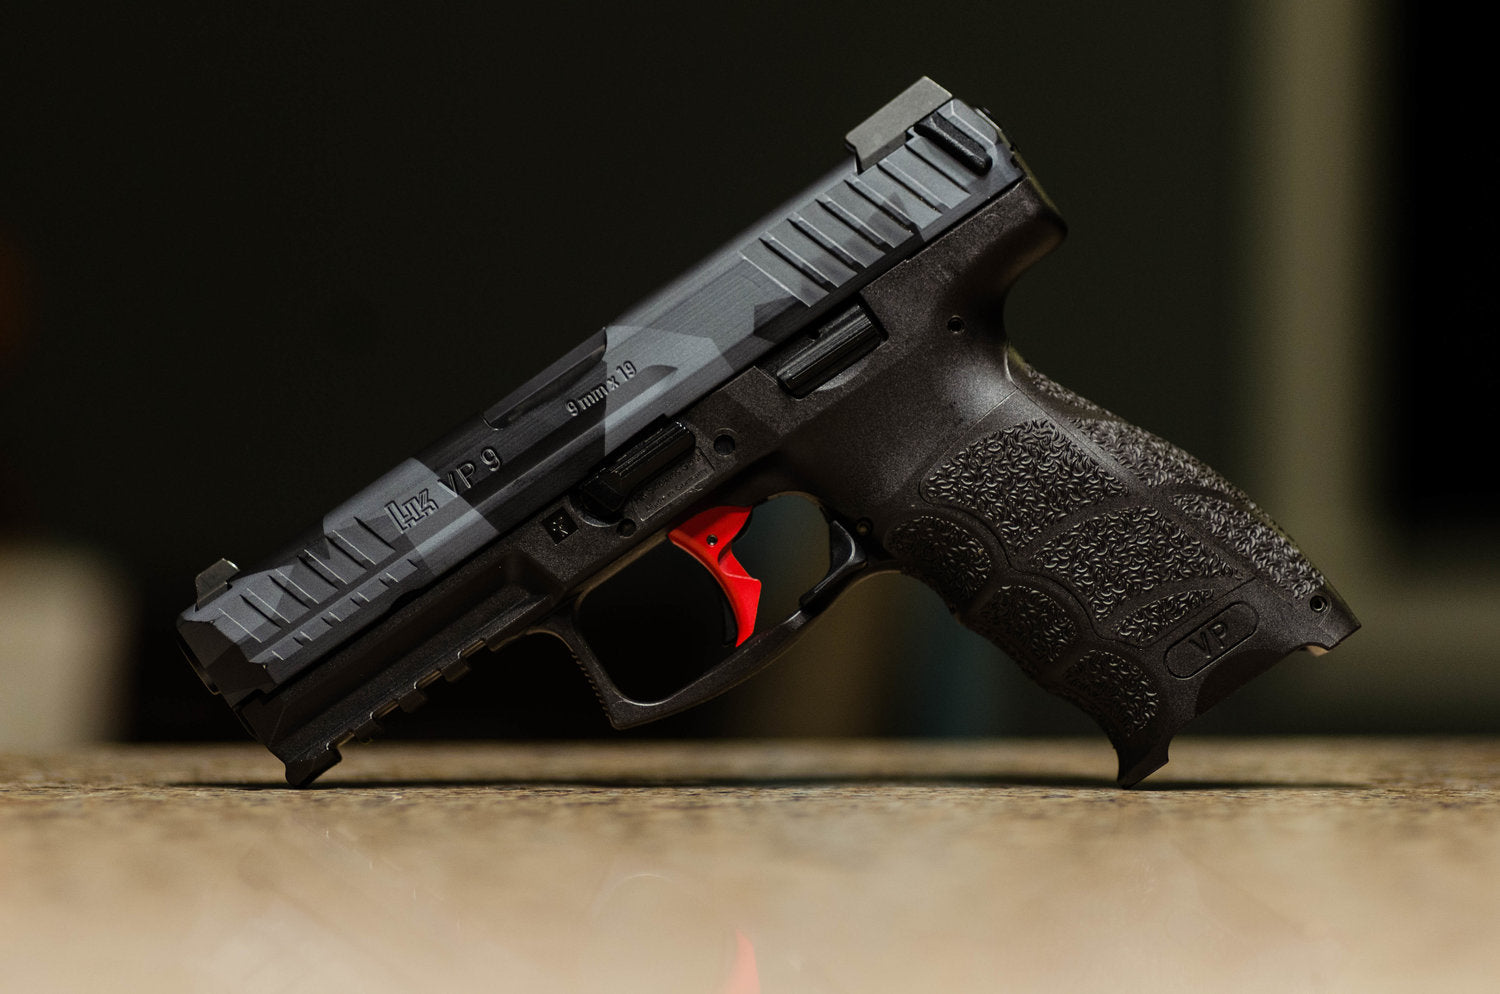
VP9 Trigger "Hump" Smoothing

So your VP9 trigger feels stagey...
So this is a phenomenon that I encountered when designing the TYPE 1 VP9 trigger, and from what I've researched, many others have had with the VP9 pistol even with stock components. It was something that I initially figured was part of the weapons function, but after handling other VP9's during trigger development and comparing to my own there is quite an inconsistency from firearm to firearm.
After some research I stumbled upon a post in the excellent www.HKPRO.com forum post describing the same inconsistencies I noted. Link below.
http://www.hkpro.com/forum/hk-handgun-talk/219658-improved-my-vp9-trigger-pull-dramatically.html
Once I tried this myself, the two stage feel was completely gone and the trigger felt better then ever. If your already going through the tumultuous task of taking your VP9 apart to install the Type 1 trigger it is highly recommended to perform this quick and easy operation. I will describe a method of performing this task below.
Unfortunately i was not able to capture the surface finish of the connector area before doing the mod myself, however in the photograph below you can see some evidence of the poor surface finish of this part. This "raw" surface finish (indicated by the right arrow) adds additional friction and inconsistency to the trigger pull. Similar surface finish was noted before polishing in the area of the left arrow which directly impacts trigger feel. This is the area that needs to be focused on to clean up the trigger "hump"

** Disclaimer **
The steps below are for reference only. Any alterations to your pistol can be potentially dangerous. Perform at your own risk.
Materials Required.

- Mothers "Mag and Aluminum Polish" or equivalent.
- Q-Tips
- Rag or paper towel.
Step 1.
Disassemble the weapon to point of removing disconnector.
Step 2.
Identify area to polish. In the image below the area to polish on the disconnector is identified in purple.

Step 3.
Apply polish to Q-Tip and apply to area indicated above. You want to rub the head of the q-tip back and forth in the entire purple area indicated. Once product dries on the connector take a rag or paper towel and remove the polish residue. This may have to be repeated multiple times. It does not take a lot of force, but you want to make sure that the area indicated in purple above at the end is smooth. This can be tested by pressing your fingernail against the humped feature and noting how smoothly it can run across. When your complete it should feel and look smooth like glass as shown in figure 1.
Step 4.
Clean Connector of all polishing compound.
Step 5.
Reassemble into your weapon and enjoy!


